Creating Private or Password-Protected Videos
Cinema8 allows you to control who can access your videos through a set of flexible privacy options. You can choose to make a video public, restrict it with a password, or even limit access to specific domains for internal-only use.
How to Adjust Privacy Settings
Step 1: Open Video Settings
- Go to My Videos and select the video you’d like to protect.
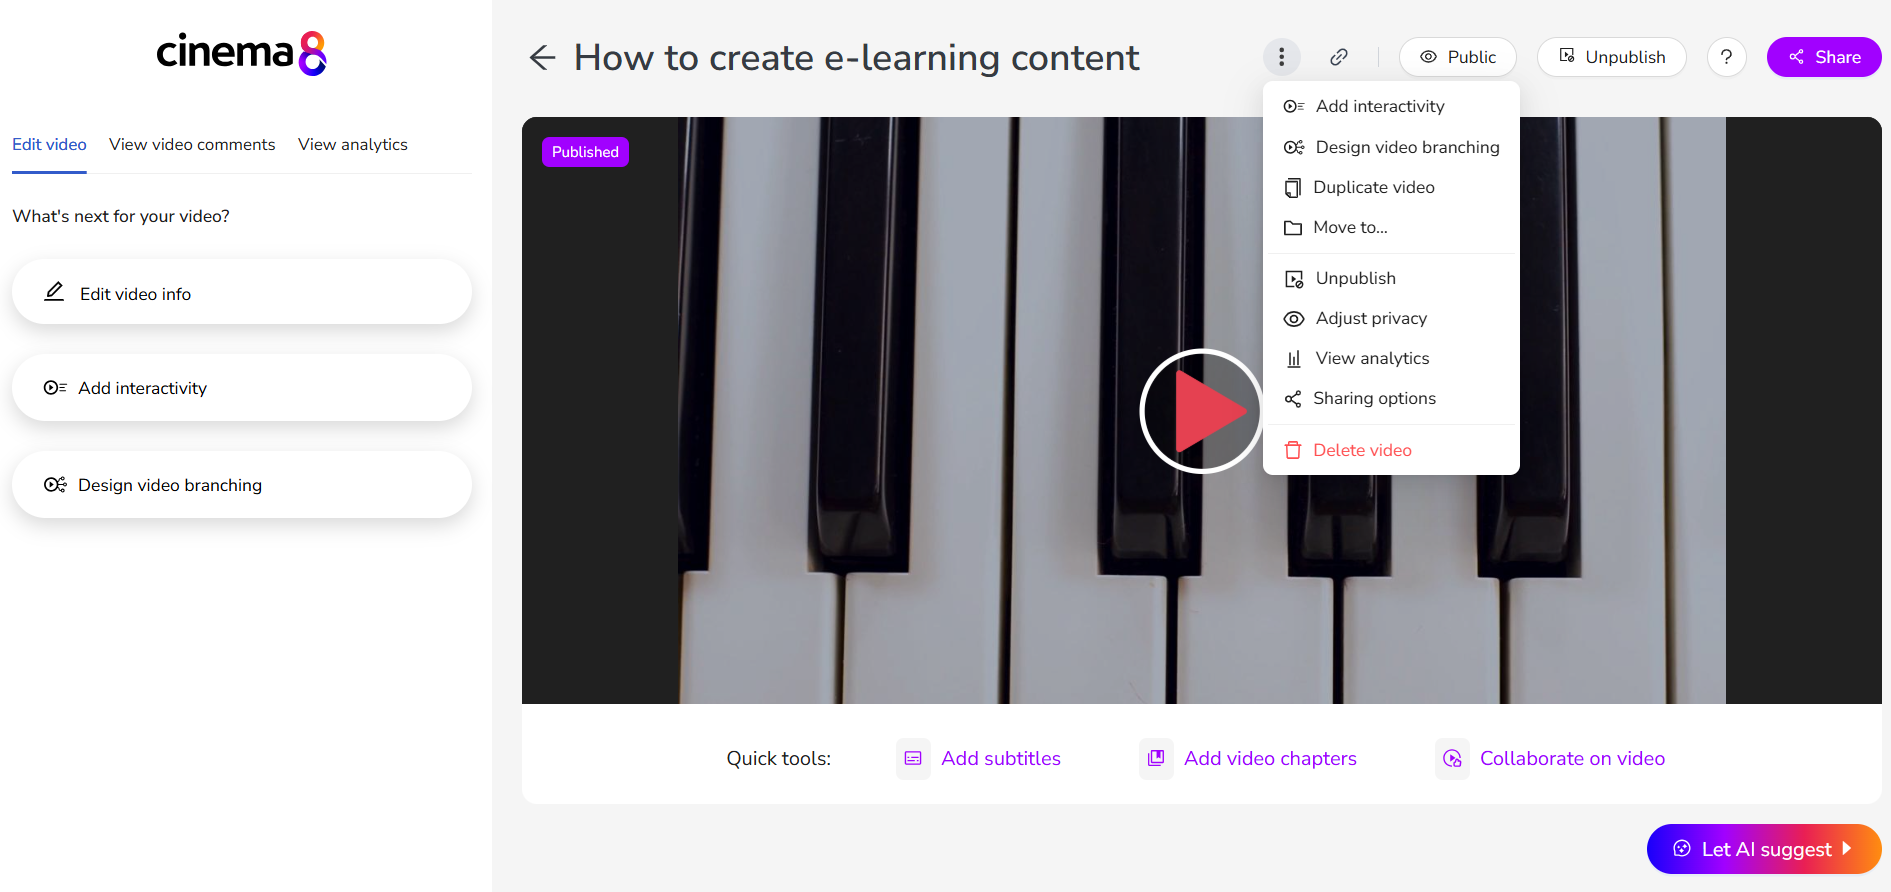
- Click the … (more options) menu or the privacy status icon (e.g., “Public”).
Step 2: Select “Adjust Privacy”
- From the dropdown menu, choose Adjust Privacy to open the privacy settings modal.
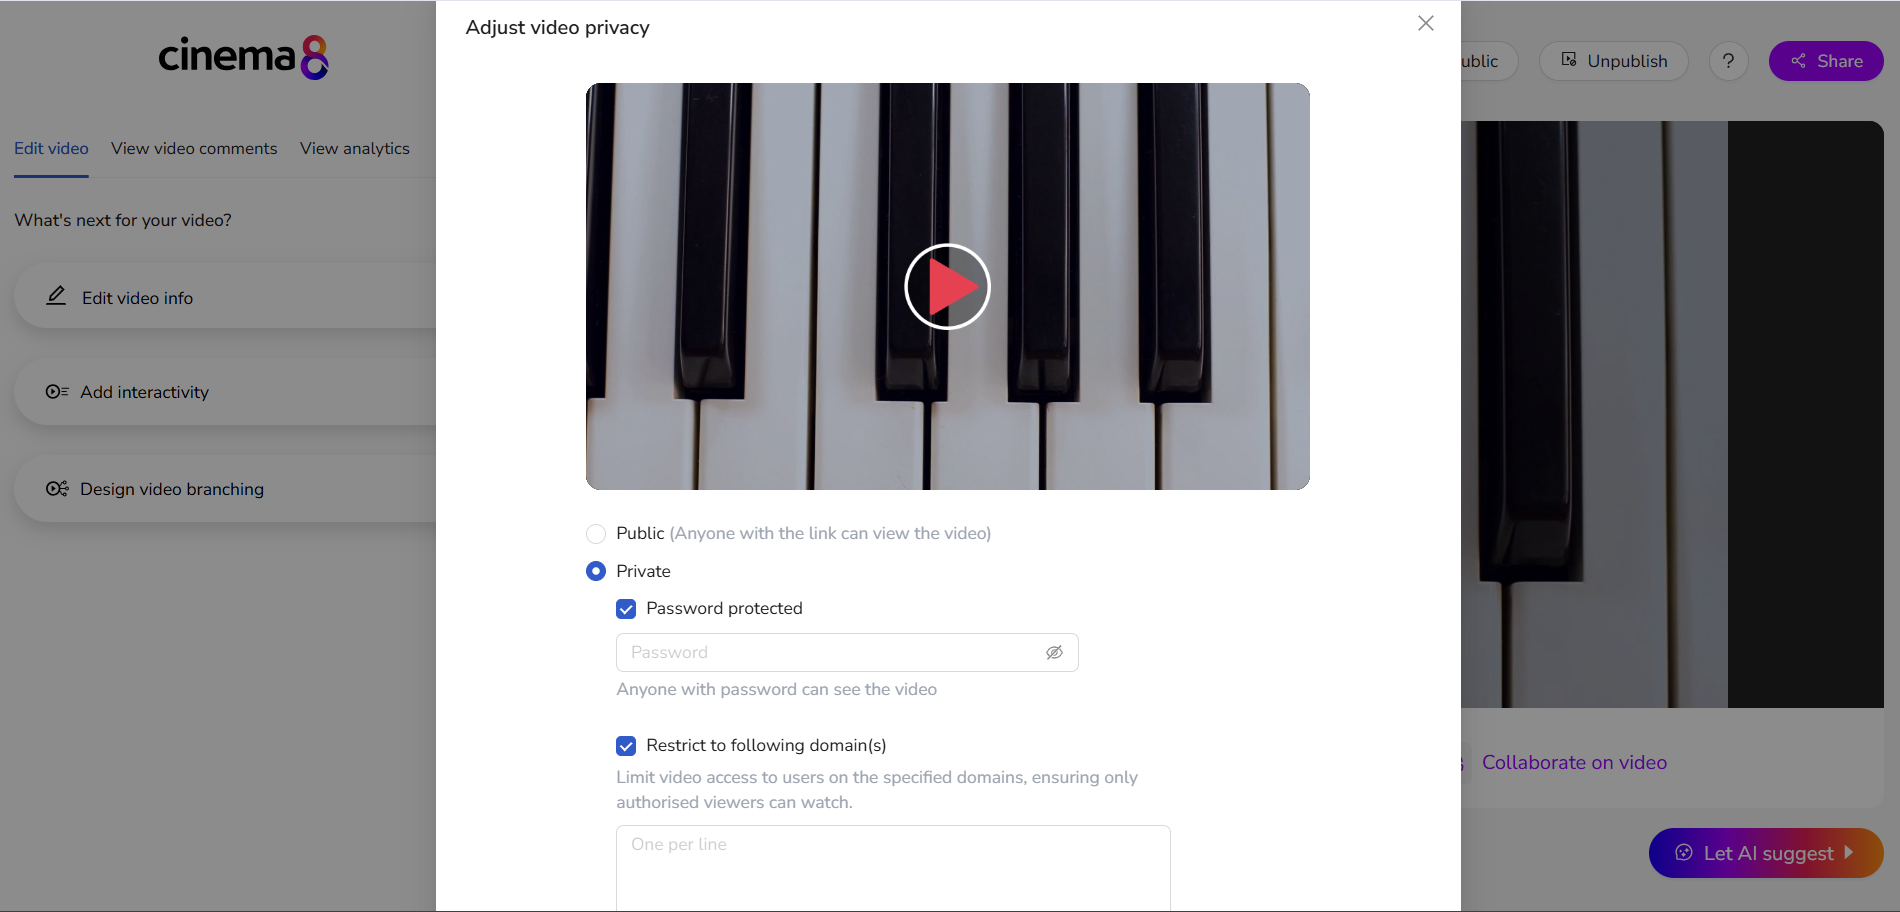
Step 3: Choose Your Privacy Level
- Public — Anyone with the link can watch.
- Private + Password Protected — Add a password so only viewers with the code can access the video.
- Restrict to Specific Domains — Limit access by domain (e.g.,
yourcompany.com) for extra security.
Step 4: Save Settings
- Once your preferred options are selected, click Save.
- Your privacy preferences will take effect immediately.
Visual Walkthrough
🔐 Tip: Use domain restrictions for internal training, client-only resources, or gated events. Combine with passwords for layered protection.
By configuring video privacy in Cinema8, you maintain full control over who sees your content—whether it’s public, invite-only, or restricted to internal teams.
Last updated on